

¼ yard woven material (I used twill)
Fusible interfacing
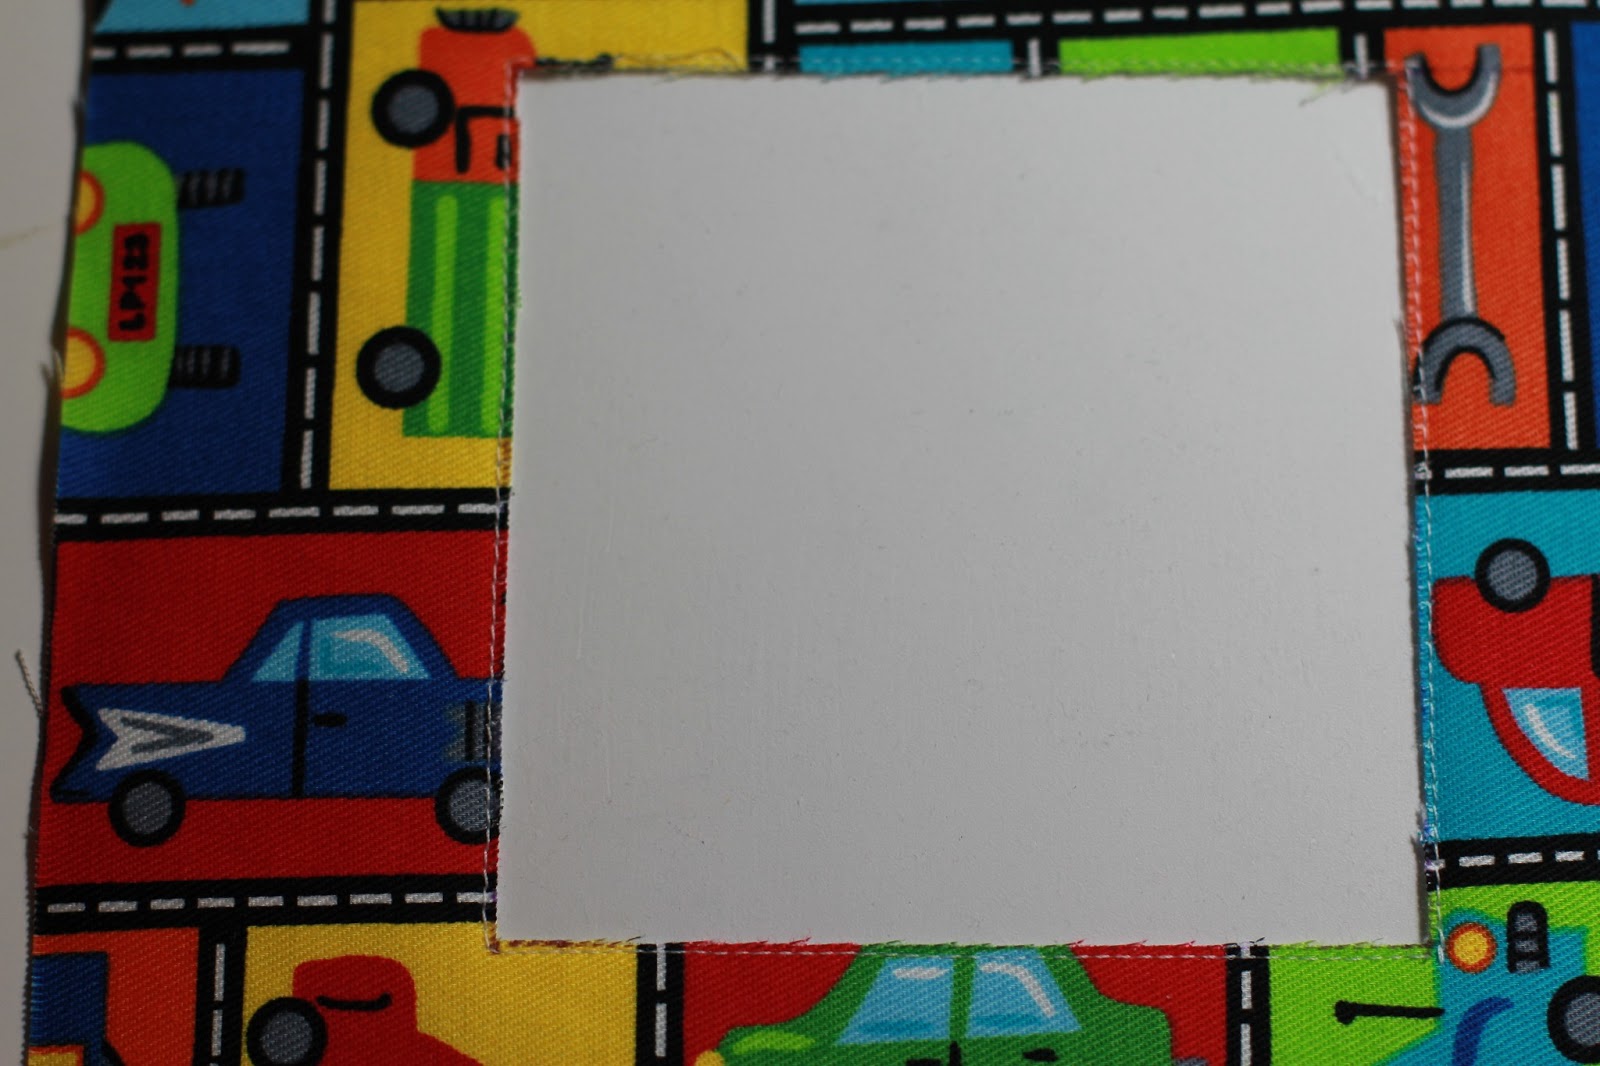
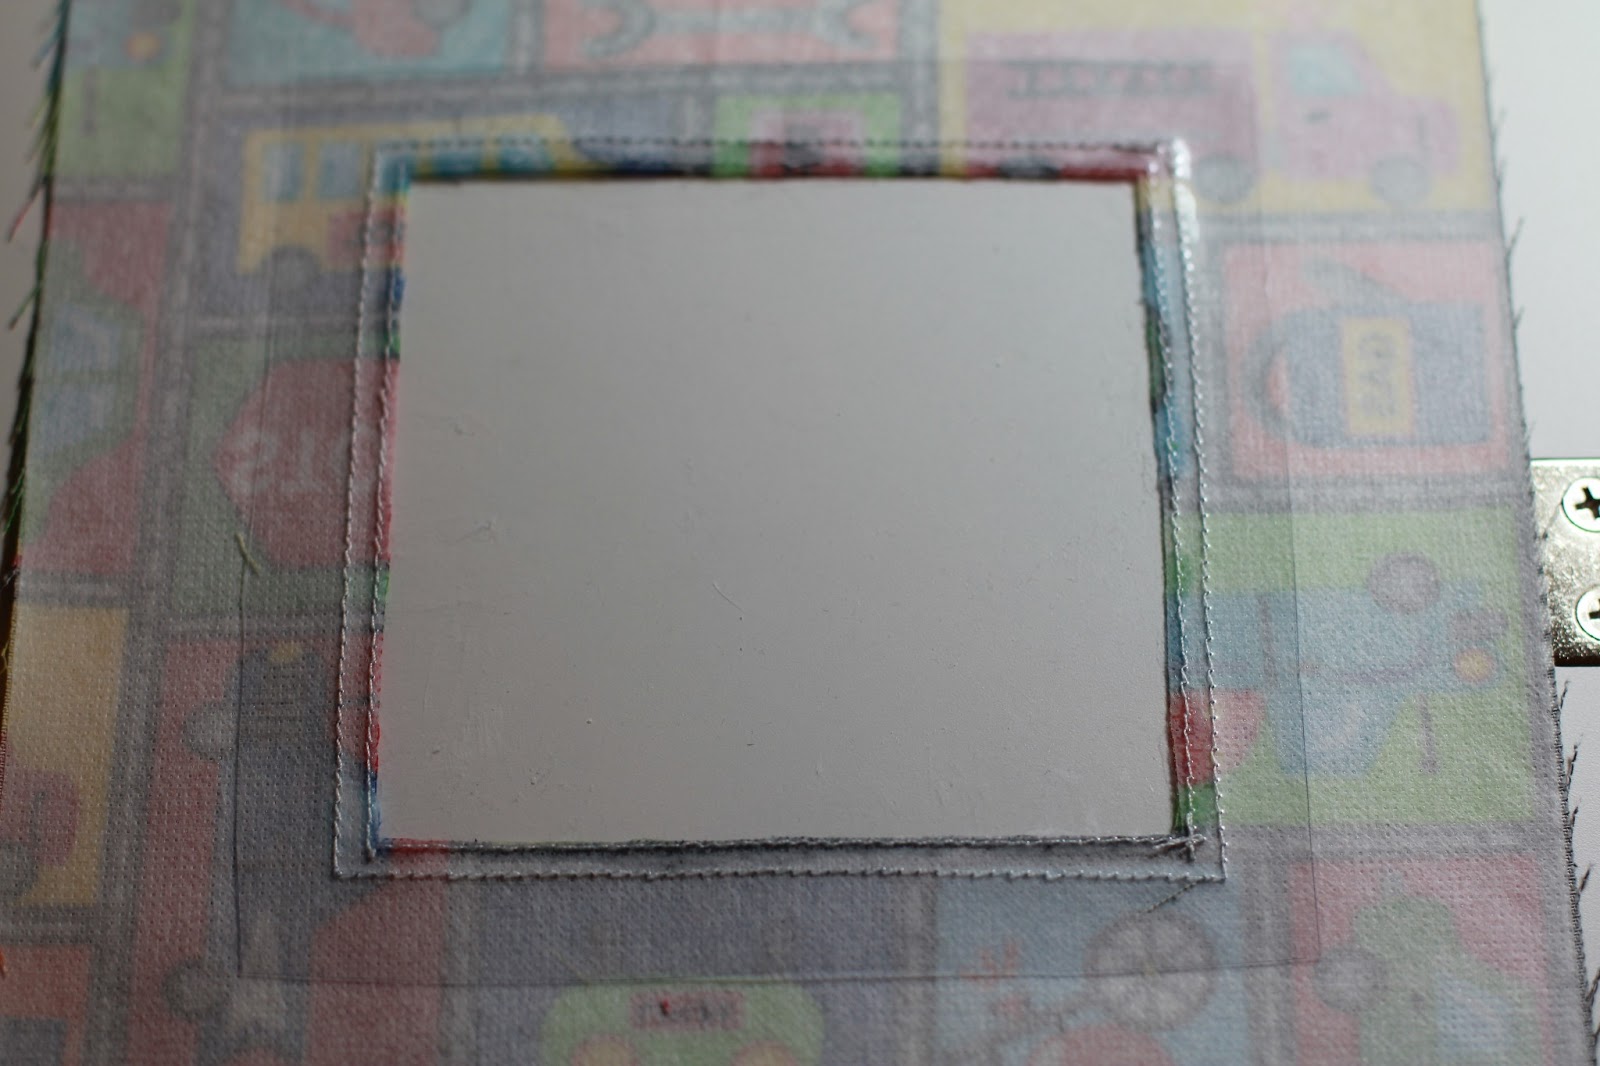
6 x 6-inch piece of heavy vinyl (bought at WalMart or Jo-Anns)
9-10 oz. Poly Pellets® weighted stuffing material (bought at Jo-Anns)
Miniature items to place in bag (around 28 or so)
Iron-On Quick Fuse™ fabric sheets (bought at Jo-Anns)
Thread
FrayCheck™ (available at WalMart, Jo-Anns or fabric store)
Invisible marking pen
Pins
1. Cut two pieces of 8 x 8-inch square fabric.


6. Type a list of items to be included inside the bag and follow directions to prepare a Quick Fuse™ fabric sheet. I had 28 items, but you can have more or less. Just remember that the larger the items are and the more you have of them, the less pellets you will be able to fit into your bag and the easier it will be to "spy" and find them.

An 8½ x 11-inch Quick Fuse™fabric sheet will make several lists if you want to make more than one bag. After printing on the fabric sheet, allow it to dry 1-2 minutes. Trim around image, leaving a border for stitching the list to the back piece of fabric. Preheat iron to medium/high (cotton) setting. NO STEAM. Place image face UP on right side of back piece and press 10-15 seconds making sure all areas of the sheet are thoroughly fused.
7. Stitch around edge of the list with decorative or straight stitch to secure.

8. Pin front and back pieces of bag with right sides together and stitch ½-inch seams around three sides, leaving the fourth side open for turning.

9. Clip corners and turn inside out.

10. Fill with miniature items, checking with the list for accuracy. Fill the bag ⅔ full with Poly Pellets®. I used about 2 level cups which weighed about 9-9½ oz. The more pellets you use, the harder the items will be to find.

11. Fold down ½-inch seam allowance on open end and stitch close to the edge, being very careful not to sew over the pellets so you don't break a needle. Sew around the edges of the other three sides to secure the seams and help the bag lie flat.

Voila! You're done.
These are so cute! Lucas loves his. Thanks.
ReplyDeleteWhere did you find the miniatures?
ReplyDelete